DATA MANAGEMENT PC SOFTWARE
Real Tech’s Liquid Ai® Data Management PC Software program expands sample and data model (calibration) management capabilities for our new UV-VIS LED portable field meters, putting the power of data into the hands of the user.
The intuitive software allows users the ability to access additional starter data models, update existing data models, and automatically build new custom data models for any site-specific monitoring location desired in one user-friendly program. Users can add to their site-specific data models over time, increasing accuracy and robustness of measurement.
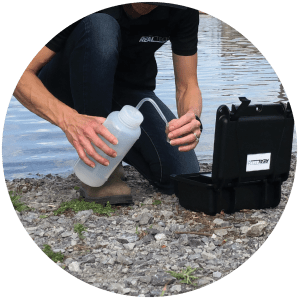
1. Start sampling with your meter
When you start using your new meter from Real Tech, it’s ideal to take a sample and save the reading on your meter any time you collect a sample to send for lab analysis. The saved data can be uploaded later from your meter to the Liquid Ai® Data Management PC Software.
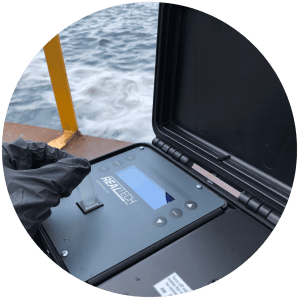
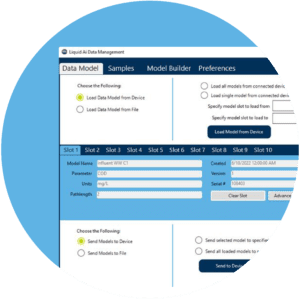
2. Connect your meter to your PC
Connect your meter via the mini-USB to export one or all saved samples from your meter to the Liquid Ai® PC Software and start the process of gaining greater sample and data management capabilities.
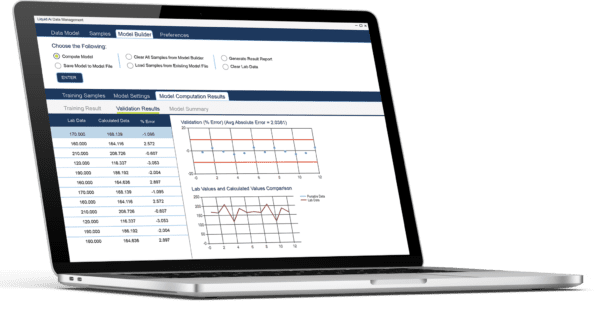
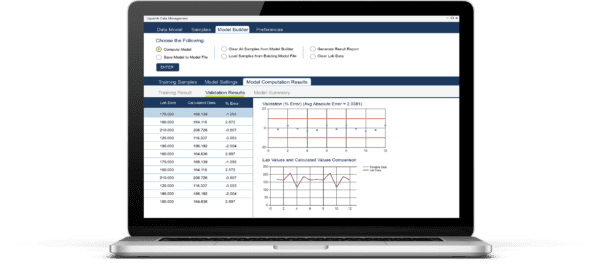
3. Compare, Build and Improve your Data Models
Input your time stamped lab samples to the corresponding saved meter samples. The Liquid Ai® PC Software will enable you to see the percent error and R2 value of the data model created against the lab results. From here, you can build upon your site-specific data model to create more robust, accurate and reliable results.
Operators are empowered with our innovative Liquid Ai® automatic data model builder. Build and improve upon your data models to customize to your site-specific conditions for confidence in your results.
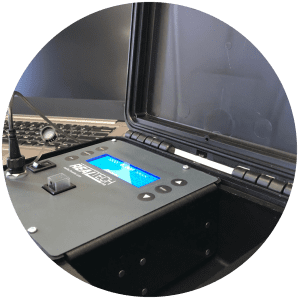
4. Load and Go
Now that you have your new customized data model for your targeted monitoring location, you can upload it onto your portable meter and head out into the field to test anytime with confidence.